Complete Guide to Cleaning Windows
Over time dirt and grime slowly but steadily collect on your windows, blocking sunlight and obstructing your views. Additionally, thick streaks and swipes from poor cleaning stick on your windows, creating ugly views that leave the windows looking old and neglected.
But the good news is, you can keep your windows looking brand new with these window cleaning tips.
Cleaning Your Indoor Windows
Unlike outdoor windows, indoor windows don't accumulate as much dust and dirt, but this doesn't mean they don't need regular cleaning. Below is a detailed look at how to professionally clean your indoor windows.
Tools Needed
A squeegee is one of the go-to tools when it comes to window cleaning. However, when cleaning your indoor windows, it's not advisable to use a squeegee. Although this tool may make your cleaning look professional, it can cause a huge mess leaving your floor flooded with water. So, what do you really need?
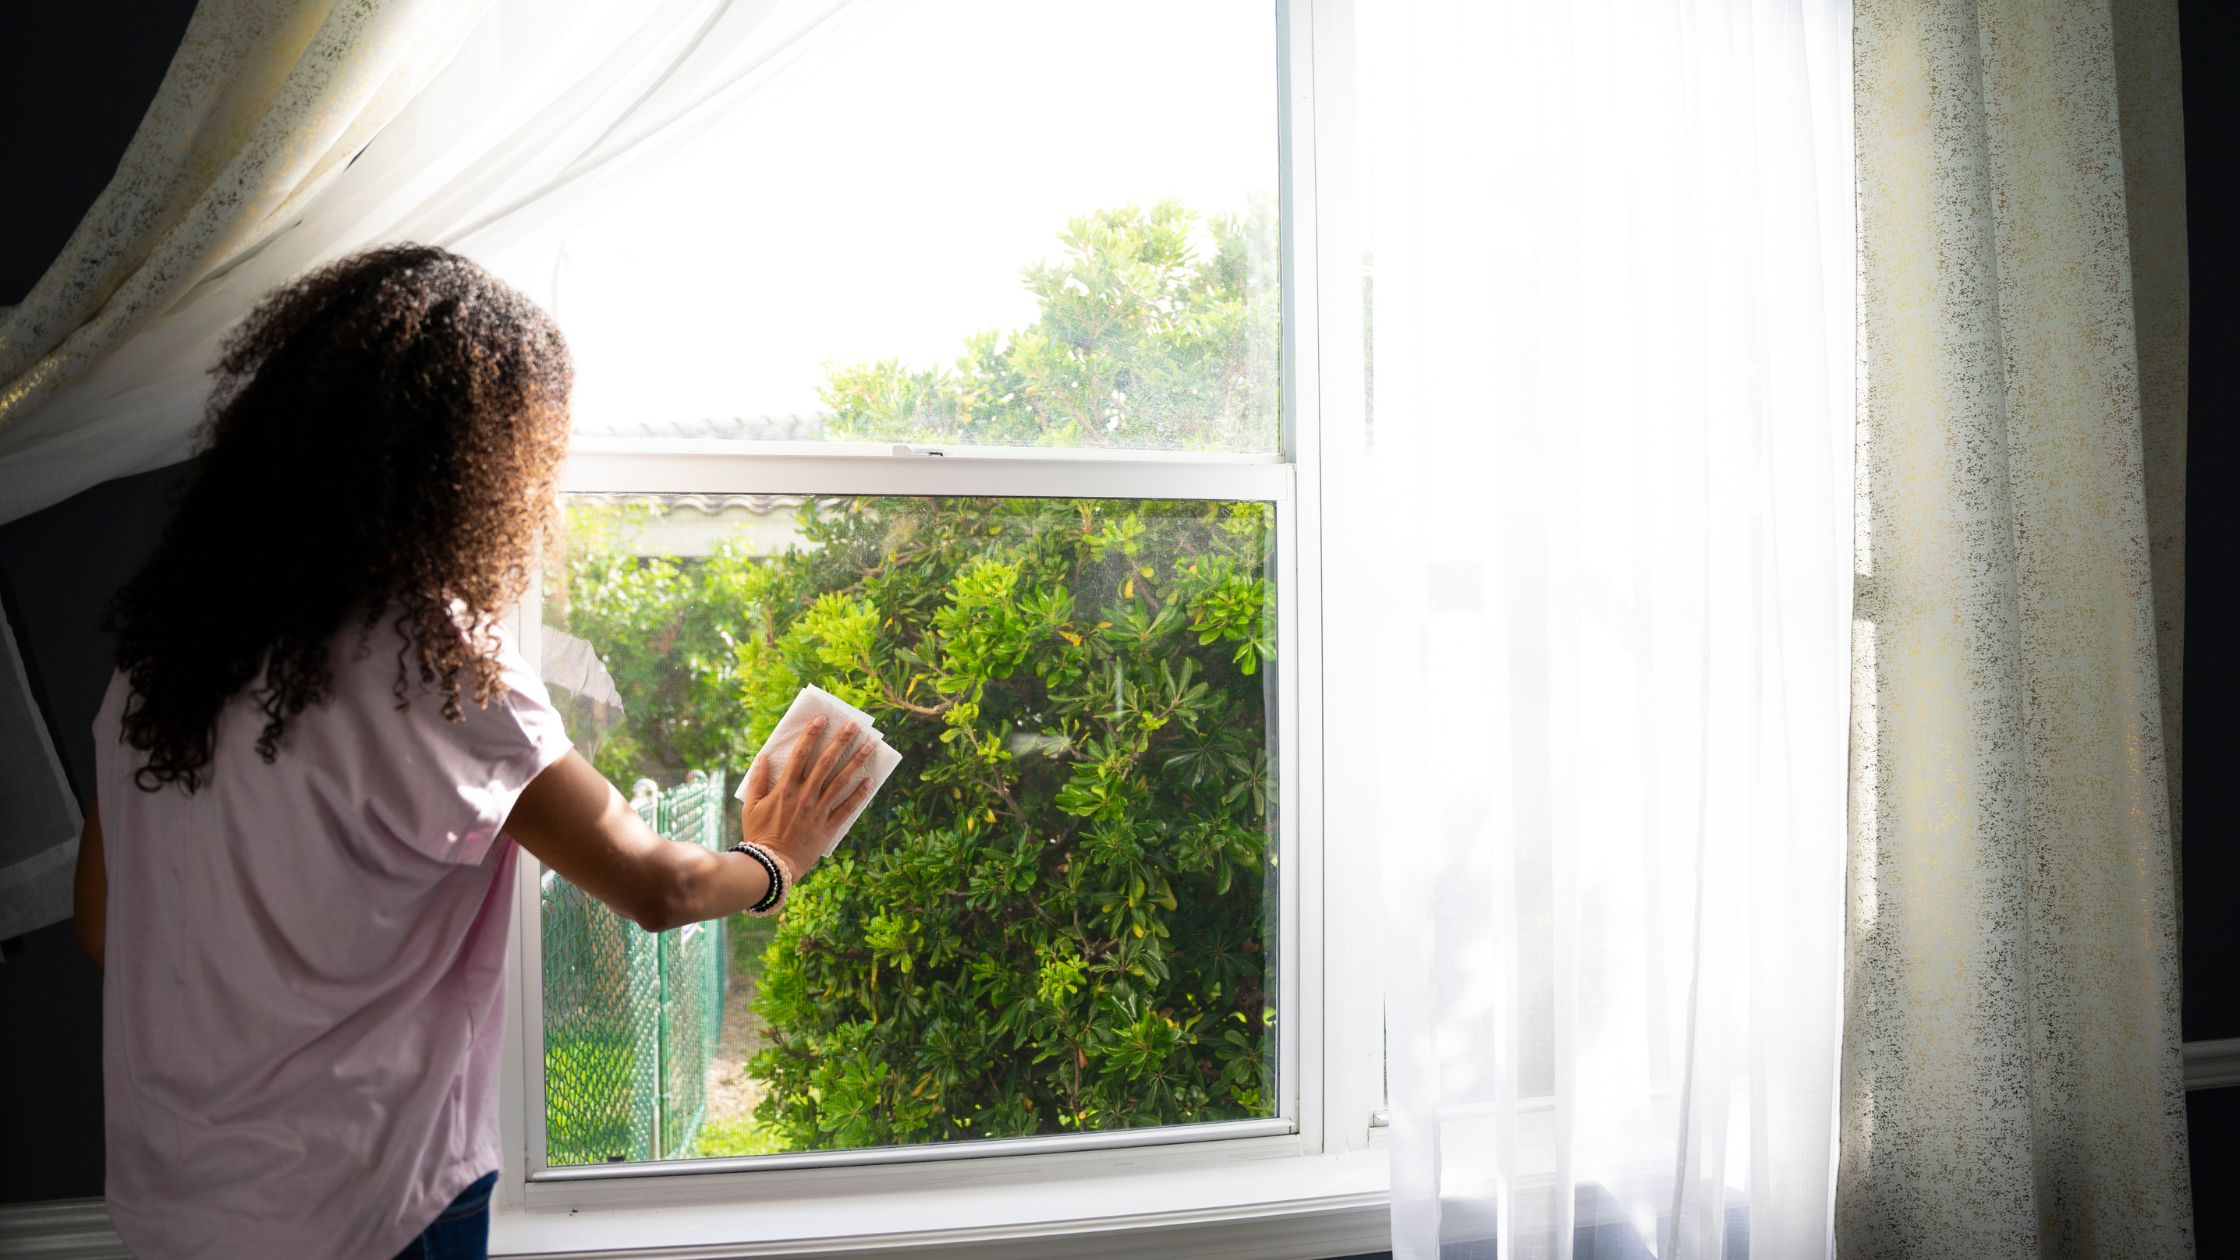
- Microfiber cloth: Rather than using a squeegee, you can use a microfiber cloth. These clothes are perfect for cleaning indoor windows because they don't leave those annoying bits of clothes behind. Also, they don't scratch window glasses. If you don't have a microfiber cloth, you can use a sponge.
Other items you should avoid using are paper towels. These towels can cause micro-scratches on your windows which can eventually damage them. The micro-scratches can also capture dust and dirt over time.
- Window-cleaning solution: There are many window-cleaning solutions in the market today. Choose one that's environmentally friendly and within your budget. If you can't lay your hands on commercial window cleaning solutions, you can make a homemade solution by mixing water and distilled vinegar in a ratio of 2:1. You can also use a dishwashing detergent.
Procedure
Before getting down to the window cleaning procedure, here's a handy tip, clean the windows on a day that's cloudy and cold.
You might not know it, but the weather plays a significant role in the outcome of your window cleaning exercise. It's better to choose a cloudy day because windows tend to dry faster on a hot, dry, sunny day, making it difficult to wipe them properly.
- Use a dry microfiber cloth to clean off solid matter like dust: Start by wiping off as much dust and other solid material as you can from your window using a dry microfiber cloth. Using a wet cloth smears dirt and dust on the windows, making the cleaning process more overwhelming. But don't struggle to eliminate all the dirt because most of it will come off in the subsequent steps.
- Spray the window cleaning solution on the windows: After wiping off the dirt, the next step is spraying your cleaning solution. You should be generous when spraying the cleaning solution. Spraying sufficient amounts of the cleaning solution makes it easy to eliminate dirt, grime, and other sticky substances.
- Use the microfiber to wipe the window: The cleaning agent will loosen all the solid dirt on the windows. Wiping the windows with a microfiber cloth in an up-and-down motion rubs off both the cleaning agent and the dirt leaving your windows clean.
- Let the window dry: Once you are convinced the windows are sparkling clean, leave them to dry and enjoy the outcome.
As simple as that!
Cleaning Your Outdoor Windows
Typically, it's a little bit more difficult to clean outdoor windows compared to indoor windows. This is because outdoor windows accumulate more dirt following exposure to wind, dust, smoke, and rain, among other harsh environmental factors.
Tools Needed
Here are the primary tools you'll need when cleaning your outdoor windows:
- Microfiber cloth: You'll need a microfiber cloth to clean heavy residues and calcified smears on the windows.
- Window-cleaning solution: You can use the same window cleaning solution you used on the indoor windows.
- Squeegee: For the outdoor windows, you'll now need a squeegee. This tool will allow you to clean those hard-to-reach areas and ensure your finish is streak-free. Here, you won't have to worry about water flooding because you'll be working outdoors.
Procedure
- Clean the windows on a day that's cloudy and cold: Do this for the same reasons explained above.
- Use a dry microfiber cloth to clean off solid matter like dust: This makes cleaning easy and ensures you don't waste a lot of your window cleaning solution.
- Spray the window cleaning solution on the windows: Use a generous amount of the cleaning solution to loosen the dirt.
- Squeegee away: Use the squeegee to wipe the cleaning agent, dirt, and grime away. You can also use a microfiber cloth in case you don't have a squeegee.
- Soak hard-to-remove stains: If you still have some tough stains on the windows, soak them with more cleaning solution, then use the squeegee or microfiber cloth to wipe them off. Repeat this step until you remove all the stains leaving your window streak-free.
- Leave the windows to dry: Once you're satisfied with the results, you can now leave the windows to dry.
Wrapping Up
Window cleaning is a vital part of your house cleaning routine. And as you can see, it's a simple DIY project that doesn't demand complicated tools and skills. If you have a busy schedule, you can spare a few hours for window cleaning. Alternatively, if you feel unfit to handle this project, you can hire a cleaning expert.
Feel free to share these window-cleaning tips with your family and friends!
Wallaby Windows was founded on the idea that your home should be beautiful, and more importantly, functional. We specialize in window replacements and repairs, so you can have a functional and beautiful home without worrying about your windows. Our “Pane-Free” promise guarantees you receive the world-class service you deserve - we won’t leave until you’re happy with the results. With over 50 years of combined experience in home services and construction, Wallaby Windows is the company you can trust to get the job done right.


Book Your Free Estimate Today

