When homeowners ask, “How do you install a window?” they’re often surprised to learn that window installation isn’t a single task but a multi-step process that starts long before a new window ever goes into the opening.
Professional window installation involves careful evaluation, preparation, precise fitting, sealing, and finishing to make sure the window performs the way it’s designed to. Each step builds on the last, and skipping or rushing any part can lead to issues down the road.
That’s why proper installation matters just as much as the window itself. Even a high-quality window won’t perform well if it isn’t installed correctly. Air leaks, water intrusion, and operational problems almost always come back to installation details, not the product. A professional approach ensures the window fits properly and functions smoothly for years.
For homeowners, working with professionals really pays off. Instead of worrying about tools or costly mistakes, you’re sure the job is done right the first time.
Key Takeaways
- Professional window installation is a multi-step process designed to ensure long-term performance, not a quick one-day task.
- Local experience matters, especially in Jacksonville, where heat, humidity, and storms can affect how windows perform over time.
- Working with a trusted installer gives homeowners confidence that their windows will function properly, look finished, and hold up for years.
Before Installation Day
Before installation day, installers confirm measurements for each window opening, checking the window frame, width, and alignment. This often includes measuring diagonally to make sure everything is square, so the replacement windows will fit and operate the way they should.
Evaluating the existing window and the surrounding structure
The existing window, the old window, and the surrounding areas are inspected closely. Installers look at the rough opening, window sill, and bottom of the window to spot any signs of wear or water infiltration, especially common in Jacksonville homes. Addressing these issues early helps the new window function properly once installed.
Planning for Florida codes and local conditions
Professional teams also account for Florida building requirements and local weather. That includes planning for proper moisture control using components, like flashing tape, a drip cap, a sill pan, and a weather-resistant barrier to create a long-lasting, watertight seal that directs water away from the home.
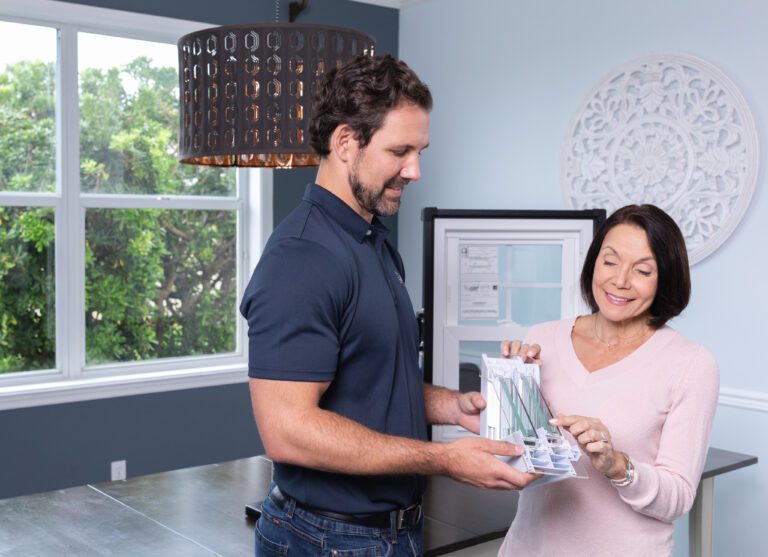
Ordering the right window for Jacksonville homes
Once everything is evaluated, the right window replacement is selected based on exposure to wind, moisture, and sun.
What homeowners can expect
From the homeowner’s side, this phase is about clear communication. You’ll know what prep is needed, how your home’s exterior and interior will be protected, and what the timeline looks like. The goal is a smooth and efficient installation process.
Removal of the Old Window
When it’s time to remove an old window, professional installers focus on protecting the surrounding wall, frame, window trim, and exterior finishes to make sure nearby windows, siding, and interior surfaces aren’t affected during removal. This is especially important in homes where materials have settled or shifted over time.
What installers look for once the window is out
After the window is removed, the opening gives installers a clear view of what’s happening around the window. They check the opening, sill, corners, and surrounding structure for hidden moisture issues or damage that can’t be seen from the outside. In an old house, this step is critical to make sure the new window will operate smoothly and close smoothly once installed.
In coastal and high-humidity areas, small issues can turn into bigger ones if they’re overlooked. Moisture trapped behind an older window can affect insulation, framing, and long-term performance.
Addressing these conditions before installing replacement windows helps ensure the new window performs the way it should.
How unexpected issues are handled
Sometimes removal reveals conditions that require minor adjustments before moving forward. When that happens, professional teams explain what they’ve found and how it affects the installation. This approach avoids rushed fixes or problems that could show up later.
For homeowners, it means fewer surprises and confidence that the window is being replaced the right way.
Preparing the Opening
Before any new window goes in, installers inspect the opening, frame, and surrounding wall to confirm everything is properly aligned and structurally sound. This behind-the-scenes check ensures the window will sit correctly in the available space and remain centered once installed.
Managing moisture the right way
In Northeast Florida, moisture control is a major part of professional window work. Installers plan how water will be managed around the sill, corners, and surrounding materials using elements like house wrap and moisture barriers. This preparation helps protect the home and surrounding areas from future issues.
Why sealing and leveling matter in Jacksonville
Proper sealing and leveling are critical to how a window performs over time. When this step is done correctly, the window fits the window sizes it was designed for and remains secure without shifting.
In a humid climate, these details help prevent air leaks, drafts, and stress on the frame that can develop if corners or edges aren’t addressed properly.
Long-term protection you don’t see
Homeowners may never see this part of the process, but they notice the results. Careful preparation helps prevent leaks, reduces drafts, and protects against long-term damage that can be time-consuming and costly to fix later. It’s one of the biggest reasons professional window installation delivers better comfort and durability than quick fixes or DIY tips ever could.
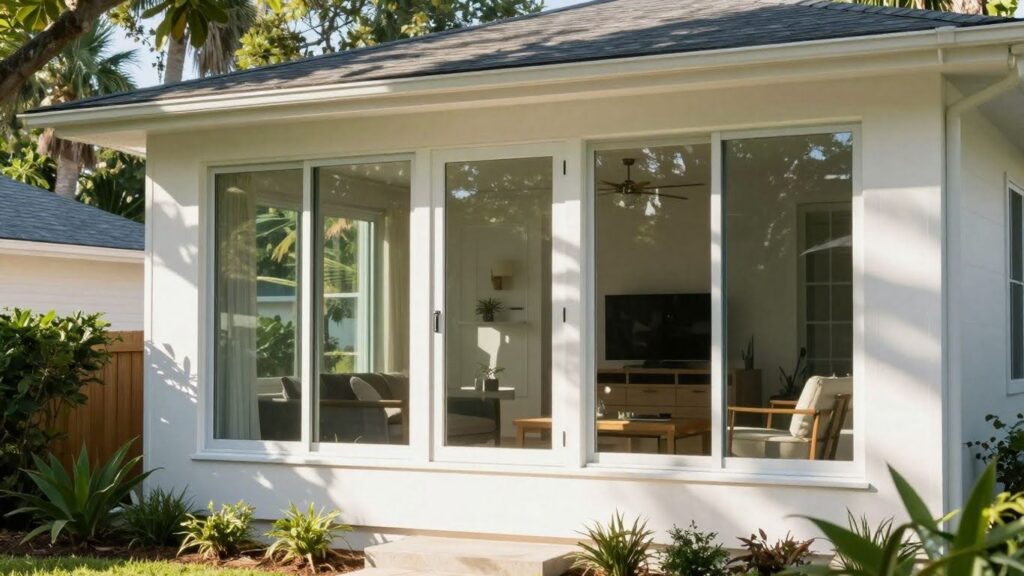
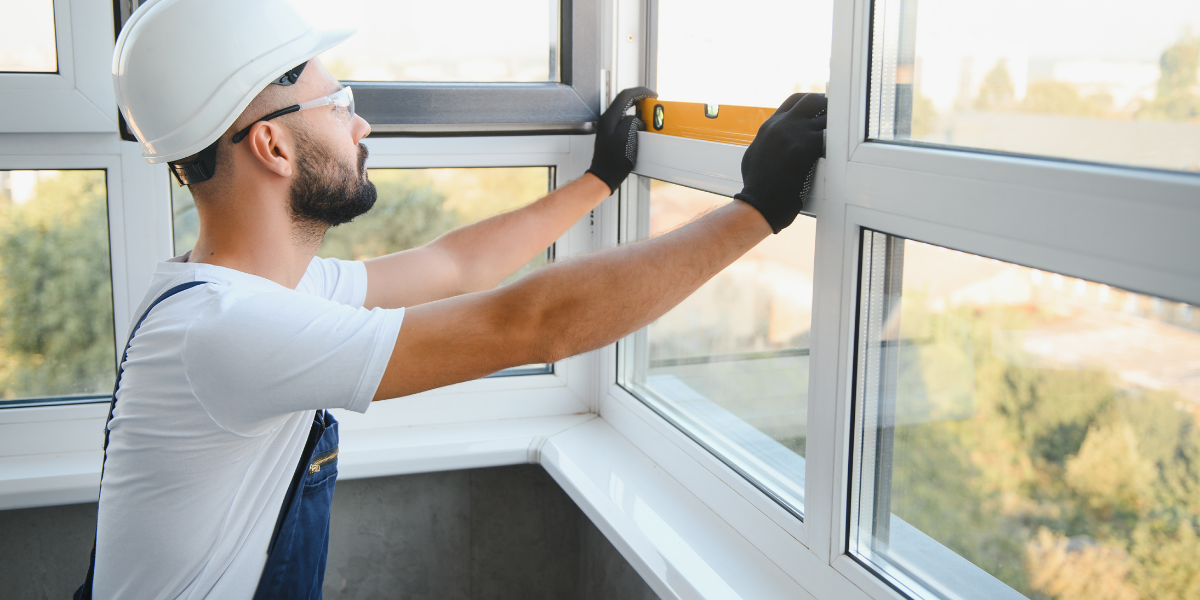
Installing the New Window
When professionals install windows, the focus is on precision. The window must be properly aligned within the opening so it stays stable, operates smoothly, and integrates cleanly with other windows and doors in the home. This careful approach supports long-term performance, not just day-one appearance.
Alignment that protects longevity
Correct positioning matters more than most homeowners realize. When a window isn’t aligned properly, stress can build along the side jambs or lower sash, leading to operational issues over time. Professional installation ensures the window remains secure and balanced, even as the home naturally shifts.
Insulation and sealing that works behind the scenes
Preventing air and water intrusion is a critical part of installing a new window. Professionals use proven insulation and sealing methods, such as foam insulation, low-expanding foam, and backer rod, to properly seal the space around the window without putting pressure on the frame. These details help maintain comfort and efficiency year-round.
Rushing this phase to save money can lead to issues that show up years later, from drafts to moisture damage. A professional approach avoids quick fixes and focuses on doing the job right the first time, so the window stays secure, performs reliably, and adds lasting value to the home.
Finishing Touches
Once the window is in place, attention turns to the final details. Interior and exterior areas are finished, so the window blends seamlessly with the surrounding wall, trim, and any nearby door or architectural features.
Sealing and trim that complete the job
Proper sealing and trim work help ensure the window looks finished and performs as expected. These details close small gaps, support insulation, and protect the surrounding areas without leaving visible signs of the installation process. Everything is left neat and tidy, with full clean-up handled by the installation team.
Final performance checks
Before the job is complete, installers double-check that the window opens and closes smoothly, locks properly, and feels solid in place. This final review ensures the window is secure, sealed, and functioning exactly as it should before the team signs off.
A properly finished installation feels simple. The window operates smoothly, the space looks complete, and there’s no lingering mess or uncertainty. It’s the confidence that your new window was installed with care, and that it’s ready to perform for years to come.
After Installation
Once installation is complete, homeowners are walked through the finished work. Installers review the window, answer questions, and double-check that everything looks right and feels solid in place.
You’ll also get a clear explanation of what’s covered—both the window itself and the installation. Knowing the difference helps set expectations and gives peace of mind long after the installers leave.
Choose the Right Window Installer
The right window installer should bring more than just products; they should bring experience and a process you can trust. Homeowners should feel confident that the team understands window installation from start to finish and takes responsibility for doing the job right.
Why local experience matters
Local experience makes a real difference, especially in Jacksonville. Installers who work in the area every day understand how heat, humidity, and storms affect windows over time. That local knowledge leads to better decisions, stronger results, and accountability you don’t get from out-of-town crews.
Questions you should feel comfortable asking
A professional installer welcomes questions. Homeowners should feel comfortable asking about timelines, warranties, materials, and what to expect before, during, and after installation. Clear answers are a sign you’re working with a team that stands behind their work.
Working with a local window company means having a team that’s invested in the community and available long after installation day.
If you’re considering new or replacement windows and want a clear, no-pressure conversation about your options, Wallaby Windows Jacksonville is here to help. Our team takes the time to answer your questions, explain the process, and make sure you feel confident every step of the way.
Schedule a consultation with us, and get expert guidance tailored to your home and your goals.
Conclusion
Window installation is about making sure a new window performs, protects, and lasts in your home. When the process is handled by experienced professionals, you get better results, fewer surprises, and long-term peace of mind. If you’re considering new or replacement windows in Jacksonville, setting the right expectations makes all the difference.
Frequently Asked Questions
How do professionals install replacement windows?
When professionals install replacement windows, the focus is on a proper fit, effective sealing, and long-term performance—not speed. Homeowners can expect careful evaluation of the existing opening, proper preparation, and a finished result designed to perform reliably in local conditions.
What does professional window installation include?
Professional window installation covers more than placing a window in an opening. It includes assessment, precise installation, sealing, finishing work, and final checks to ensure the window operates smoothly and protects the home from air and water issues.
What should homeowners expect during the installation process?
The installation process typically includes preparation, removal of the old window, installation of the new one, and final inspections. Homeowners are kept informed throughout, with clear communication and minimal disruption to the home.
Is installing a new window different in an old house?
Yes. Installing a new window in an old house often necessitates a thorough evaluation of the surrounding structure and materials. Professional installers understand how to account for settling, older construction methods, and hidden issues, ensuring the new window performs properly without creating future problems.