Installing new siding is one of the most transformative upgrades you can make to your home’s exterior. It improves curb appeal, enhances energy efficiency, and protects your home from the elements. Whether you’re considering doing it yourself or simply want to understand the process before hiring a contractor, this guide will walk you through the essential steps of siding installation.
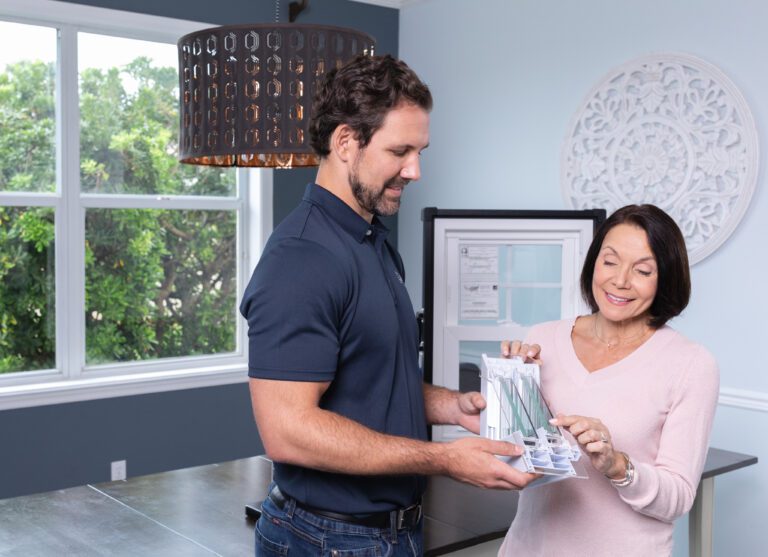
While siding installation can be DIY-friendly with the right tools and experience, many homeowners choose to work with a siding company near you, like Wallaby Windows, to ensure durability, efficiency, and compliance with local codes.
Step 1: Choose the Right Siding for Your Home
Before diving into installation, you’ll need to select a siding material that suits your climate, budget, and aesthetic preferences. Popular options include:
- Vinyl siding: Affordable, low maintenance, and available in a wide range of colors.
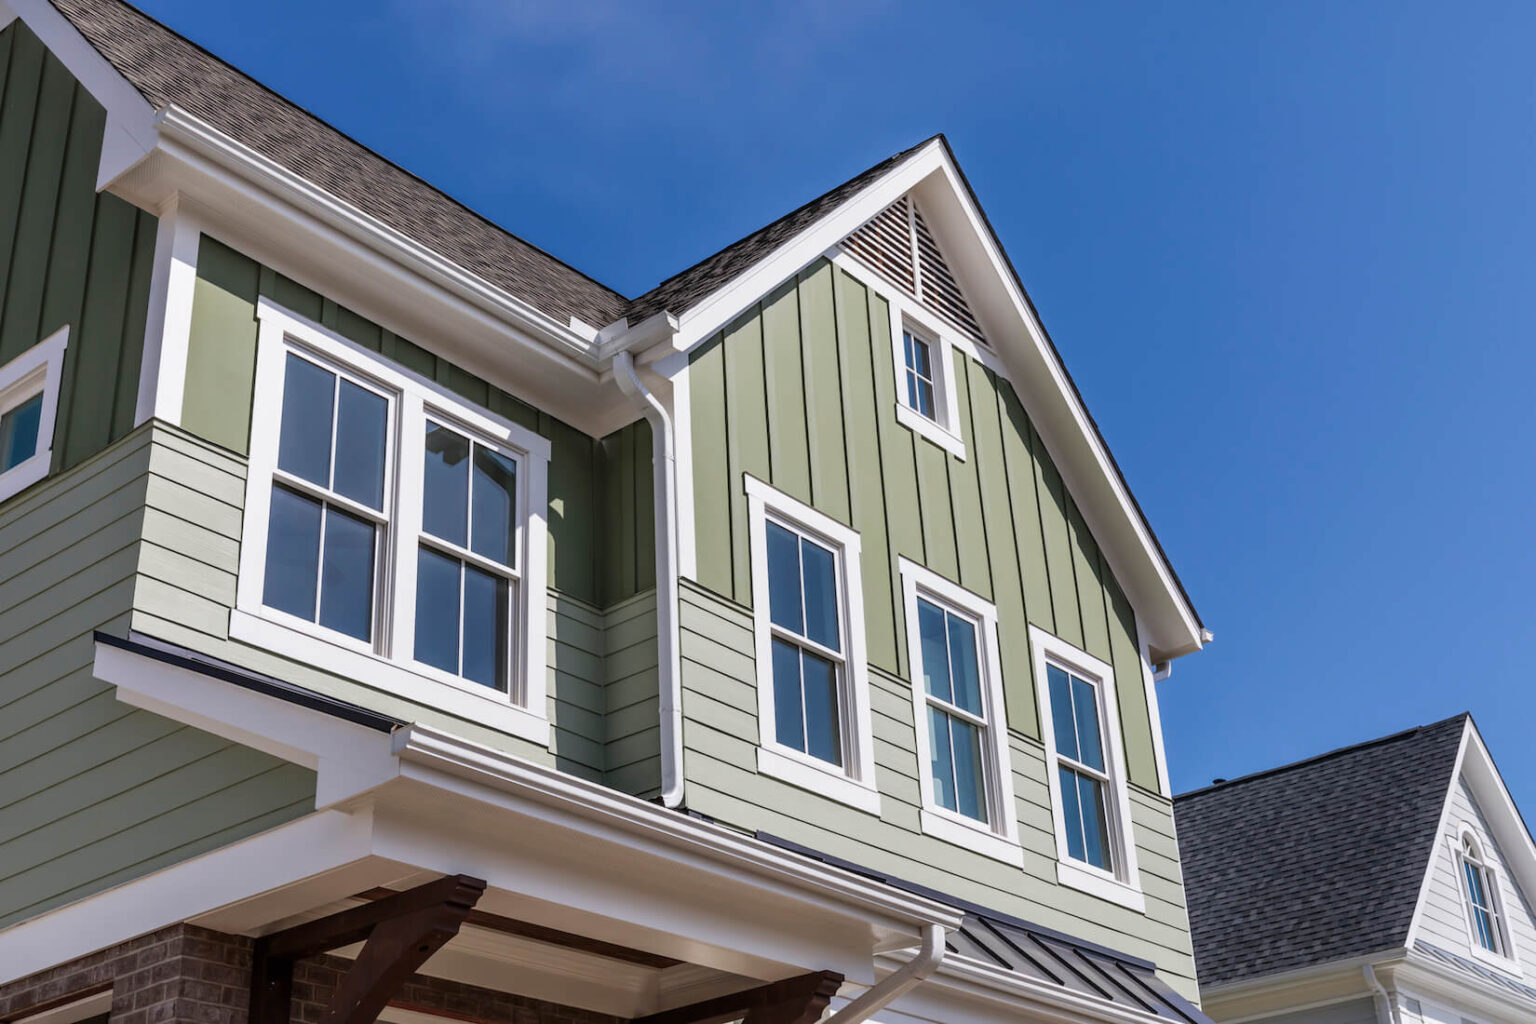
- Fiber cement siding: Durable, fire-resistant, and excellent for Colorado’s high UV and fluctuating weather.
- Wood siding: Classic look but requires regular maintenance.
- Engineered wood: More weather-resistant than traditional wood.
- Metal siding: Great for modern designs and fire-prone areas.
Each material comes with its own installation considerations, so be sure to research thoroughly or consult a pro.
Step 2: Gather Tools and Materials
To install siding, you’ll need the following tools:
- Circular saw or siding shears
- Utility knife
- Level
- Chalk line
- Hammer or nail gun
- Tape measure
- Pry bar
- Safety gear (goggles, gloves, hearing protection)
- Siding panels or planks
- Starter strips, J-channels, corner posts, and trim
- Nails or fasteners suitable for your chosen material
- House wrap or weather-resistant barrier
Many homeowners underestimate how many additional trim pieces and fasteners are required for a clean, sealed look. Plan accordingly.
Step 3: Prepare the Surface
Proper prep is key to a long-lasting installation. Here’s how to prep:
- Remove old siding carefully using a pry bar. Be sure to check for hidden damage underneath.
- Inspect the sheathing beneath the siding. Replace any rotten or damaged sections.
- Install flashing around windows, doors, and other openings.
- Apply house wrap or vapor barrier. This protects your walls from moisture and wind intrusion. Secure it with cap nails or staples, overlapping seams by at least 6 inches.
- Install furring strips if you’re working over masonry or want to create a rainscreen gap.
Step 4: Install Starter Strip and Corner Posts
The starter strip is installed along the bottom of the wall, level and straight. It acts as a guide and support for your first row of siding.
- Use a level and chalk line to ensure your starter strip is perfectly horizontal.
- Install corner posts at all exterior corners. These give your siding a clean finish and help anchor it.
In windy regions like Castle Rock, securely fasten your starter strip and corner posts to avoid shifting over time.
Step 5: Begin Siding Installation
Now comes the main task: installing the siding itself.
For Vinyl and Lap Siding:
- Start at the bottom and work your way up.
- Lock the first row into the starter strip and nail it into the studs, leaving about 1/32 inch gap for expansion.
- Stagger joints in each course to avoid a visible pattern.
- Keep panels level as you work your way up.
- Use J-channels around windows and doors for clean edges.
For Fiber Cement:
- Use special blades or shears to cut panels.
- Always leave expansion gaps between panels.
- Panels are usually face-nailed into place and sealed with caulk.
For Vertical Siding:
- Use a level to ensure planks are straight.
- Often requires blocking or horizontal furring strips behind to nail into.
Step 6: Trim and Finishing Touches
- Install top trim and cap moldings once all siding panels are installed.
- Use caulk around windows, doors, and other penetrations.
- Touch up paint if needed and clean the job site thoroughly.
Special Considerations for Colorado Homes
Castle Rock and the surrounding areas in Colorado experience wide temperature fluctuations, strong sun, snow, hail, and wind, all of which can affect siding longevity.
Keep in mind:
- UV exposure: Choose UV-resistant siding or lighter colors to prevent fading.
- Hail resistance: Opt for fiber cement or high-impact vinyl options.
- Wind rating: Siding must meet wind resistance standards. Some vinyl siding can withstand winds over 110 mph.
- Energy efficiency: Some siding systems allow for an insulated backing, which is beneficial in winter and summer.
Always check local codes and HOA regulations before starting your project.
Maintenance Tips Post-Installation
Even the most durable siding requires some care:
- Inspect annually for cracks, warping, or loose boards.
- Wash with a garden hose and mild soap to prevent buildup.
- Repaint or reseal wood or fiber cement siding every few years.
- Address caulking or moisture issues immediately to prevent structural damage.
When to Call in the Pros
Installing siding is not a weekend project. It often takes several days and multiple people, especially on larger or two-story homes. Mistakes like poor flashing or uneven panels can lead to costly repairs and void warranties.
Hiring a professional siding installer ensures:
- Correct product selection
- Code-compliant installation
- Proper flashing and waterproofing
- Fast, clean work
- Warranty protection
Upgrade Your Curb Appeal and Efficiency
Siding plays a vital role in your home’s appearance and protection. Whether you’re refreshing a dated look or reinforcing your home’s defenses against Colorado’s climate, new siding offers real value. If you’re ready to explore your options or want expert help, it’s worth scheduling a consultation.
At Wallaby Windows of Denver, we go beyond windows. Our team delivers expert siding installation tailored to Colorado homes, combining durability, energy efficiency, and style. Whether you’re leaning toward vinyl, fiber cement, or a custom solution, we’ll help you make the right choice and install it with care.
Book your free in-home consultation today to see how our siding services can elevate your home’s look, comfort, and performance for years to come.